
Replacing a door can look like a weekend project. In practice, the outcome depends on accurate measurements, the condition of your existing frame, whether you choose a slab or a complete pre-hung unit, and how well the material and hardware match the rest of the home.
Many homeowners struggle with mismatched finishes, uneven gaps, or doors that rub after a "simple" swap. This guide walks through choosing a period-appropriate door, prepping the opening, installing it correctly, avoiding the most common mistakes, and knowing when professional measuring or installation is worth the cost.
Key Takeaways
- Clean lines and flush or lightly detailed faces work best for Mid-Century Modern interiors
- Measure every opening individually; older homes rarely have consistent dimensions
- Slab replacements preserve a sound frame; pre-hung units solve a damaged or out-of-square one
- Match material, core, and privacy level to each room's function, not a single house-wide standard
- Coordinated finishes across multiple openings benefit from a single supplier and installer
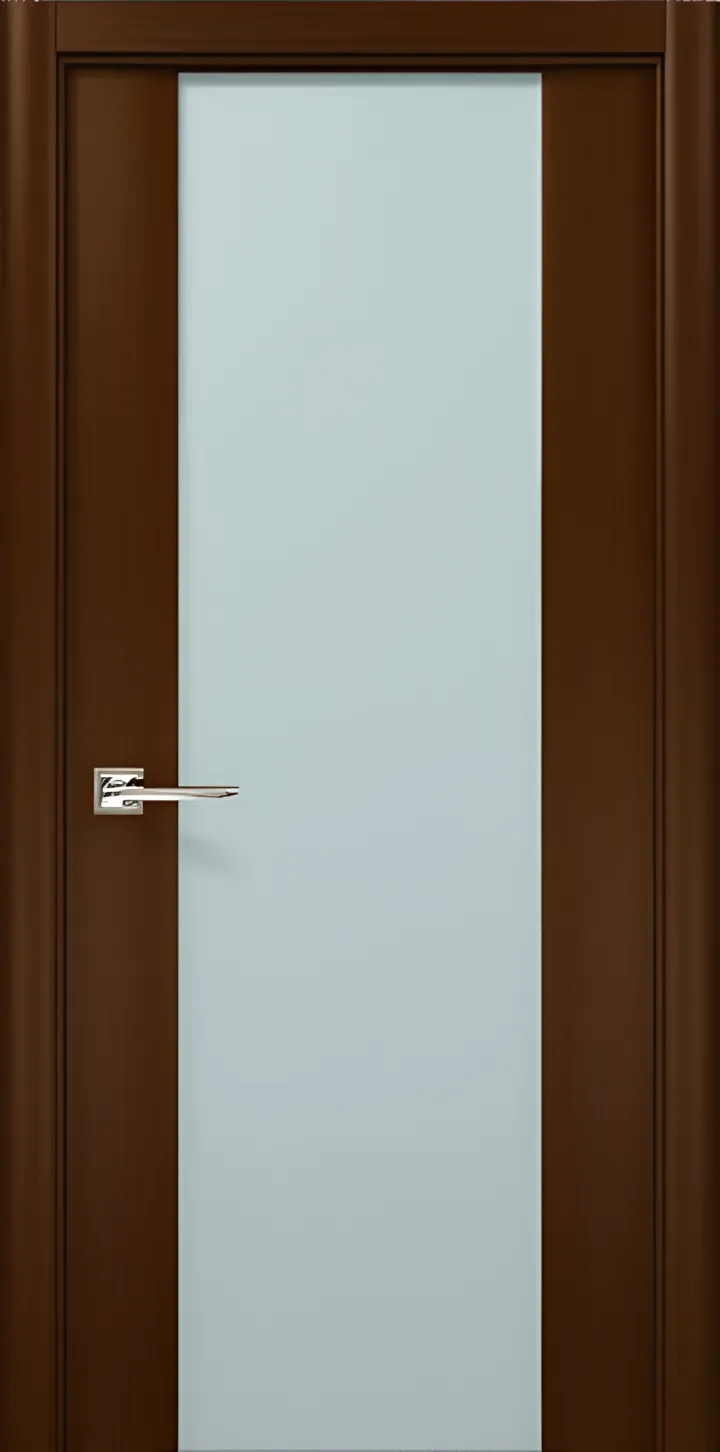
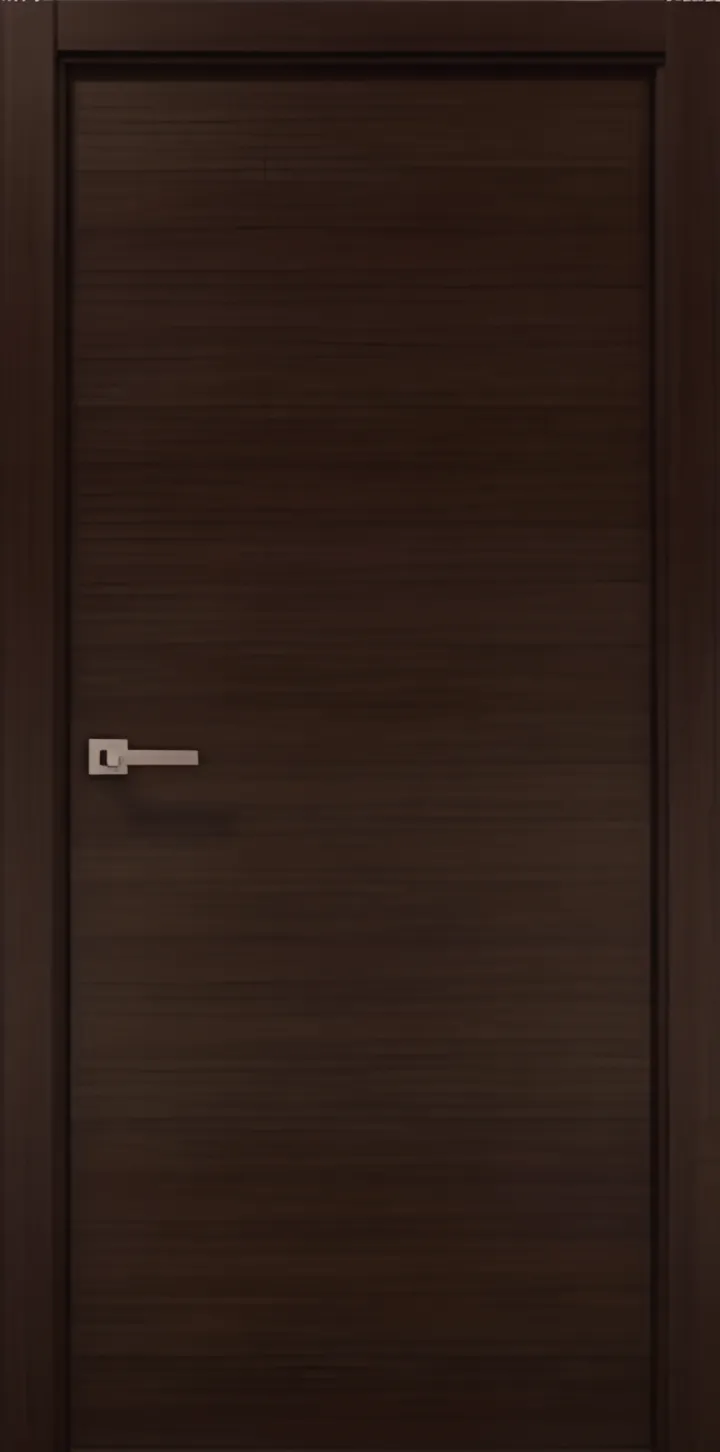
How to Replace Interior Doors for a Mid-Century Modern Home
Step 1: Assess the Existing Doors and Openings
Before ordering anything, document each opening individually. Record:
- Current width, height, and thickness at multiple points
- Swing direction, hinge positions, and hardware locations
- Condition of the jamb, casing, and threshold or flooring clearance
Check for moisture damage, movement, or an opening that's out of square. Per JELD-WEN's installation standards, an existing jamb suits a slab replacement only when square and plumb deviation stay within 1/8 inch, with corner-to-corner twist under that same margin.
If the original trim is in good shape and worth preserving, a slab swap usually makes sense. If the frame has shifted or the casing is damaged, a full-frame replacement often produces a cleaner result than trying to force a new slab into a compromised opening.
Step 2: Select and Specify the Replacement Doors
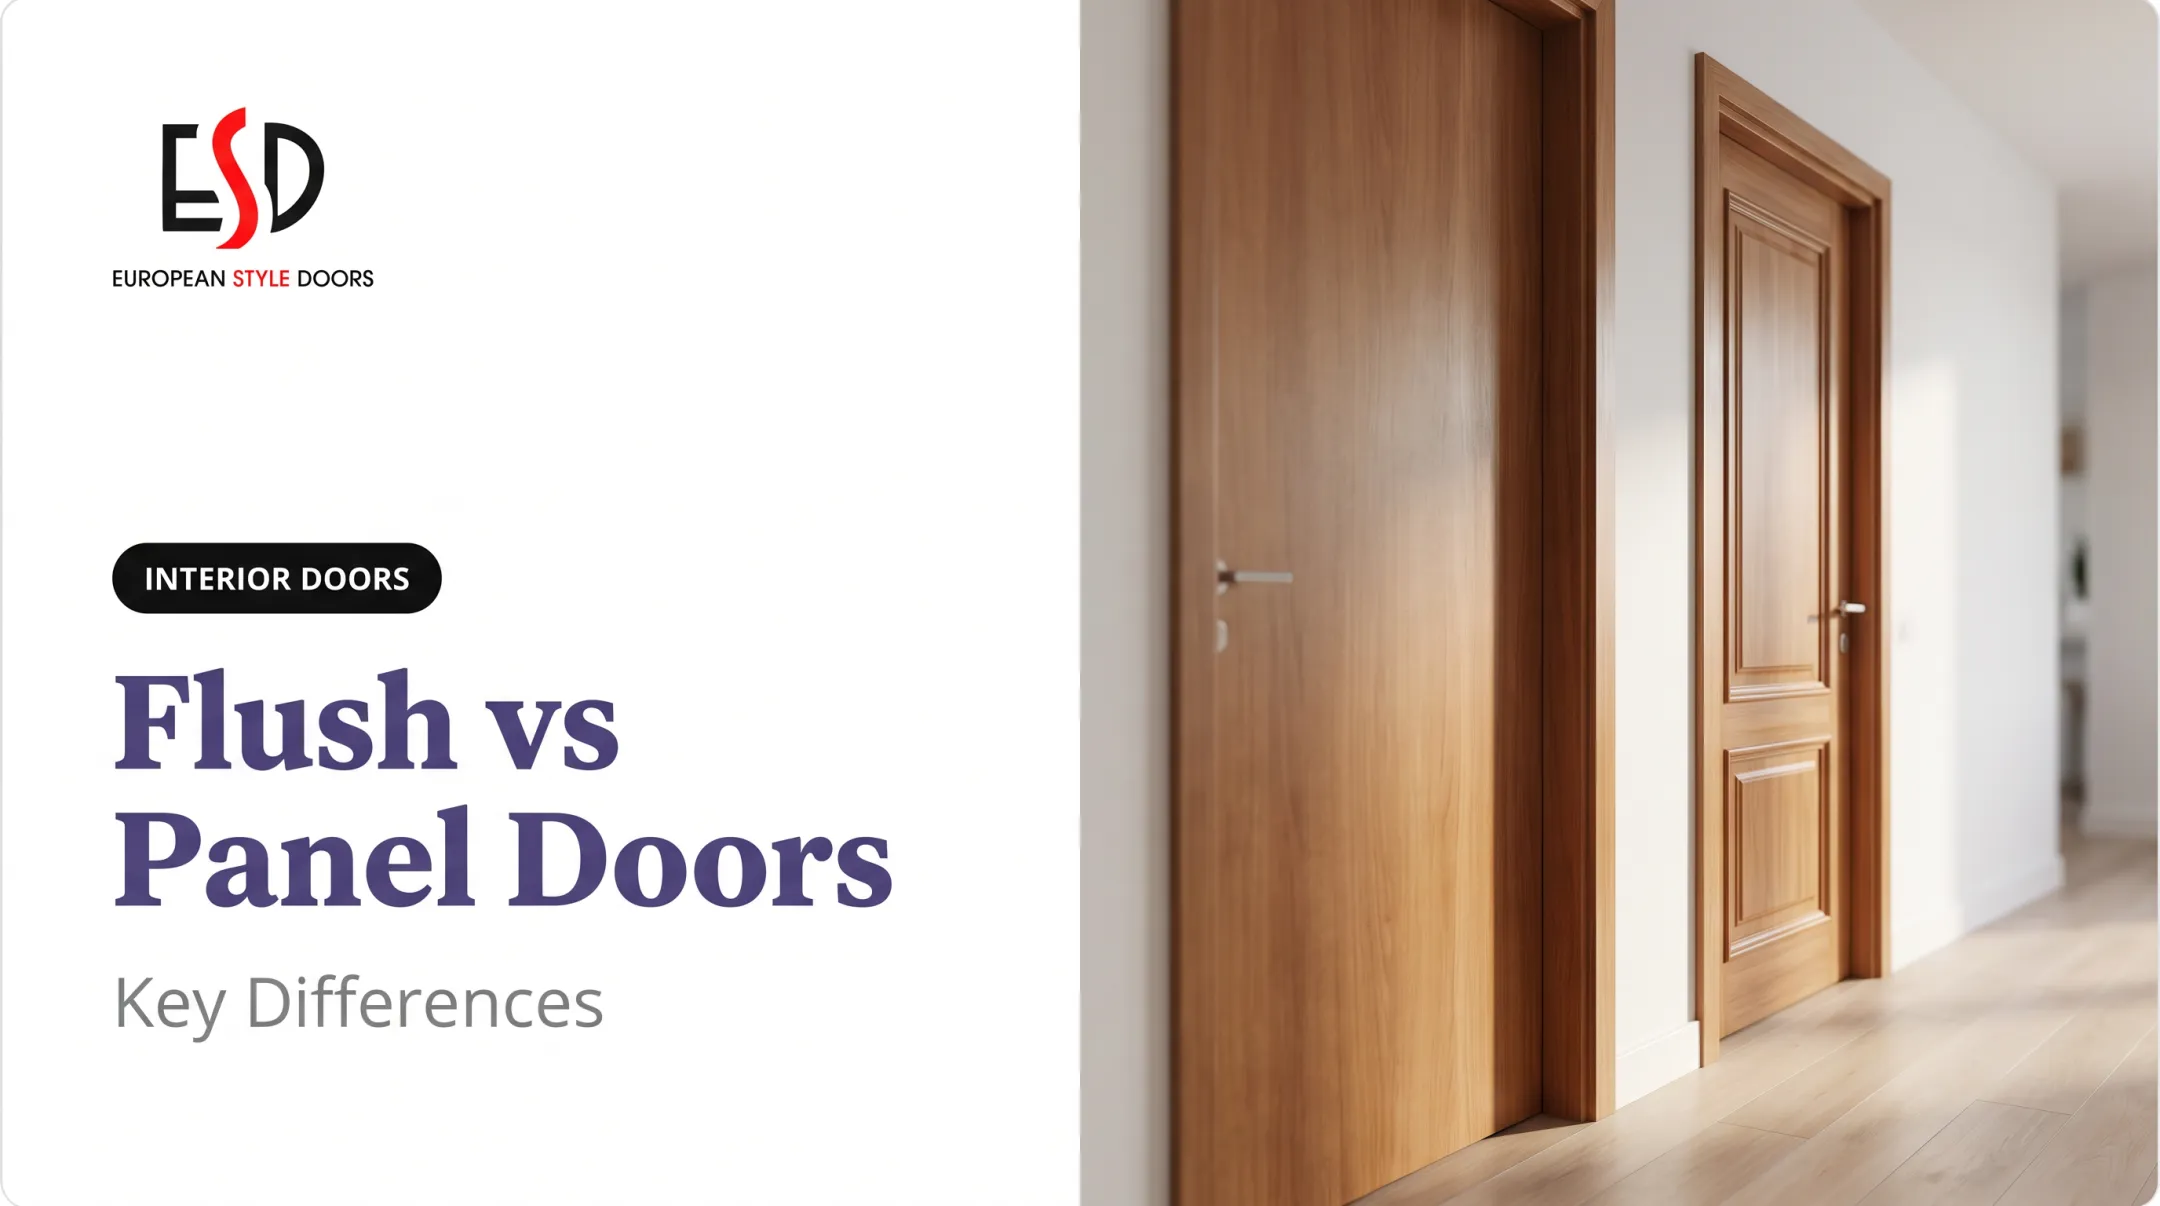
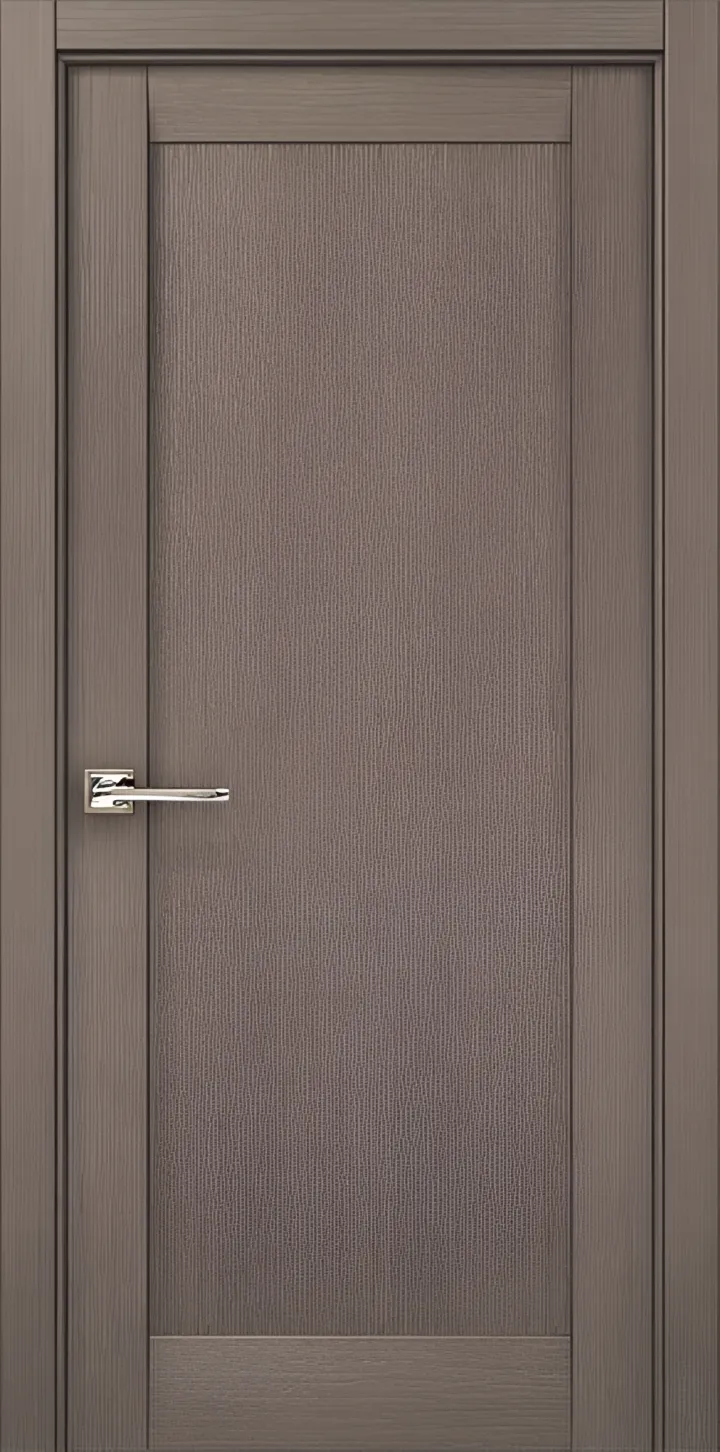
Decide on a configuration before you order: flush slab, lightly detailed panel, wood veneer, laminate, glass accent, or pocket door. Mid-century modern interiors usually favor flush or low-profile faces over ornate raised panels. Match the door to the room's function and the home's existing lines rather than defaulting to one style.
Specify, in writing, before placing an order:
- Door size, thickness, and core type
- Swing and handing (left or right, in-swing or out-swing)
- Finish, edge treatment, hinge prep, and bore location
- Hardware requirements, including backset and strike placement
For a whole-home project, build a simple door schedule: one row per opening, listing size, finish, hardware set, privacy requirement, and installation method. That schedule prevents the most common ordering mistake: assuming every door in the house is the same size.
Step 3: Remove the Old Door and Prepare the Opening
Start by removing the knob or lever, then pull the hinge pins and lift the door free without stressing trim you plan to reuse. Support the slab as you go. Hollow-core doors are light; solid-core versions are heavy.
Once the door is out:
- Clean the opening and inspect both the hinge-side and latch-side jambs
- Repair stripped screw holes, cracks, or loose material before hanging the replacement
- Protect flooring and adjacent finishes from scuffs and dust
If the project touches electrical, plumbing, structural elements, or a fire-rated assembly (common at garage entries), bring in a qualified professional before modifying the opening.
Step 4: Fit, Install, and Test the New Door
For a slab, transfer hinge and hardware locations from the old door or from your approved measurements, then trim conservatively. JELD-WEN's published instructions allow a maximum of 1/4 inch per edge on molded and flush hollow- or solid-core slabs, and that figure applies to their products specifically, not every door on the market. Always check your manufacturer's own limits first.
For a pre-hung or installation-ready unit, position the frame, shim it, and check plumb and level before fastening. Avoid overdriving screws, which can bow the jamb and cause rubbing later.
Once the door is hung:
- Install hinges, latch, strike plate, and selected hardware
- Test the reveal, clearances, and latch engagement
- Swing the door fully and confirm it holds position without creeping open or shut
- Finish or touch up only after confirming fit

Step back and check the door from a few angles once it's done. It should align visually with neighboring doors and trim, not just function correctly on its own.
When Should You Replace the Doors, and What Should You Choose?
Replacement makes sense when doors are warped, hard to operate, visually inconsistent with the rest of the house, or simply wrong for the home's character. A heavy paneled colonial-style door in a Mid-Century living room reads as a mistake the moment you walk in.
For Mid-Century interiors, favor:
- Clean, simple faces with natural wood tones or understated veneer
- Muted laminate finishes or a carefully chosen accent color, used sparingly
- Minimal paneling or fully flush construction where the budget allows
Match door type to room function:
- Bedrooms and bathrooms : solid-core construction for privacy and sound control
- Closets : lighter hollow-core doors, since weight matters less here
- Tight hallways or awkward swing zones : pocket or sliding configurations
Slab versus pre-hung is largely a frame-condition decision. A slab preserves a good existing jamb and original trim. A pre-hung unit simplifies things when the frame is damaged or the opening needs correction anyway.
Treat glass inserts, louvered panels, bi-fold, barn, and pocket doors as deliberate design choices, not automatic upgrades. Each one trades something (privacy, acoustics, floor space, or visible hardware) for a specific benefit. European Style Doors' Modern and Elite collections, for example, pair tempered-glass or Plexiglas inserts with flush construction specifically so the glass reads as intentional rather than decorative clutter.
Finally, resist forcing every room into an identical door. A coordinated collection with consistent proportions, a shared finish family, and matching hardware creates a unified look without flattening every space into a copy of the next.
What You Need Before Replacing the Doors
Tools and System Requirements
Have on hand:
- Tape measure, level, and combination square
- Pencil, drill and bits, and screwdrivers
- Shims, clamps, and a straightedge
- Cutting or mortising tools if you're trimming a slab yourself
Specialty cases (pocket frames, bypass systems, fire-rated assemblies, accessibility-driven clearances) often call for purpose-built components rather than a generic retrofit.
Measurements and Materials
Measure each opening at multiple points:
- Width and height at top, middle, and bottom
- Door thickness and jamb depth
- Diagonal measurements to check for square
- Floor-covering changes that affect bottom clearance
As a working reference, European Style Doors recommends adding roughly 3 inches to the measured slab width and 1½–2 inches to the height when sizing a rough opening. A 30-inch slab typically needs a 33-inch opening, and a 79-inch-tall door needs an 81-inch opening. Request material samples before committing; wood grain and laminate color often look different installed than they do on a swatch.

Skill and Compliance Readiness
Be honest about whether you can safely handle a heavy solid-core slab, trim it accurately, and bore hardware openings without ruining the door. Check local building and fire-separation requirements, especially for utility rooms, garages, or shared spaces.
This is where a service like European Style Doors' custom design and sizing can help: free measurement, pre-finished kits that arrive with frame, moldings, hinges, handles, and seals included, and optional professional installation. That bundle is useful when several openings need coordinated sizing and finishes rather than a one-off fix.
Key Parameters That Affect Results When Replacing Interior Doors
A beautiful door can still look wrong or operate poorly if the underlying numbers are off. Appearance and installation geometry are separate problems, and both need attention.
Door proportions and dimensions. Height, width, thickness, reveal, and bottom clearance all affect whether a replacement reads as intentional. Compare the new door against neighboring openings, not just the room it sits in.
Frame condition and installation geometry. Plumb, level, square, and proper hinge seating determine whether the door rubs, gaps unevenly, or latches cleanly over time. Shimming corrects minor deviations; a jamb that's badly out of square usually needs full replacement instead.
Material, core, and finish. Solid-core doors offer better sound control and a heavier, more substantial feel, which matters in bedrooms and home offices. Hollow-core options are lighter and suit closets.
Veneer finishes add warmth and can be refinished; laminate holds up to daily wear with less maintenance. European Style Doors' Modern and Elegant collections both build on engineered cores (MDF or honeycomb fill) faced in wood veneer or German/Indian laminate, a construction method that resists the warping solid wood is prone to in humid climates.
Hardware and function. Lever or knob style, finish, backset, and strike placement affect daily use as much as appearance. Coordinate hardware finish across rooms, but don't force identical hardware everywhere. Slight variation by room type still reads as unified if the finish family stays consistent.
Color and whole-home coordination. Wood tone, stain, laminate color, and sheen need to work with flooring, cabinetry, and trim as a set, not in isolation. A contrasting door can work as a deliberate accent; it can also fragment the design if it's the only element that doesn't match.
Delivery and installation quality. Accurate ordering and careful handling during delivery matter more on a multi-door project with custom sizing. European Style Doors' complete kits arrive pre-finished, with jambs sized for wall thicknesses from 4½ to 8 inches, which removes a lot of the fitting guesswork on coordinated projects.

Common Mistakes and Troubleshooting When Replacing Mid-Century Interior Doors
Most installation problems trace back to skipped preparation rather than bad luck. Watch for these:
- Skipping a room-by-room measurement schedule: assuming every opening is identical leads to incorrect orders and uneven reveals
- Choosing an oversized or overly decorative door: evaluate the whole opening and surrounding trim before picking a style
- Removing sound casing unnecessarily: a slab replacement can preserve good original trim; save full-frame removal for genuinely damaged framing
- Trimming too aggressively: follow the manufacturer's allowable trim limits and test fit incrementally, especially on hollow-core or engineered doors
- Ignoring hinge capacity or hardware compatibility: verify hinges, screws, lockset bore, and strike alignment before final installation
| Problem | Likely Cause | What to Check |
|---|---|---|
| Door rubs or won't close | Out-of-square opening, unseated hinges, oversized slab | Identify the contact point; recheck hinge alignment and frame geometry |
| Uneven gaps around door | Inaccurate measurements, twisted slab, bad shimming | Check plumb, level, diagonals, and reveal from several positions |
| Latch doesn't engage | Misplaced hardware, shifted strike, loose hinges | Confirm handing and backset; adjust strike only after frame is aligned |
| Finished door clashes with room | Sample viewed in isolation, wrong light source | Compare installed door in natural and artificial light against flooring and trim |
When a fix requires more than minor adjustment (substantial trimming, reframing, or a jamb that won't hold square), bring in a professional rather than forcing it further.
Alternatives to Replacing Every Door the Same Way
A whole-home update doesn't require one identical door and frame in every opening. The strongest approach usually mixes preservation, replacement, and configuration changes by room.
Preserve the existing frame, replace only the slab. Best when the jamb, trim, and opening are sound and original details are worth keeping. It cuts demolition but demands precise hinge and hardware matching. Custom machining or professional fitting often pays for itself here.
Replace the complete pre-hung unit. Makes sense when the frame is damaged, badly out of square, or already being removed as part of a larger remodel. It delivers a clean, coordinated frame and hardware layout but involves more labor, trim removal, and attention to the rough opening.
Use pocket, sliding, bypass, or bi-fold configurations selectively. Consider these for closets, narrow corridors, or wide openings where a swinging door conflicts with furniture or foot traffic. Each option has its own wall-cavity and hardware requirements, and acoustic performance varies. A sealed pocket system behaves very differently from a basic unsealed one.
For houses needing several openings reworked at once, European Style Doors' free job-site estimate and delivery (available on orders of two or more doors) and optional installation service can simplify coordinating sizing and finishes across the project.

Conclusion
Replacing interior doors in a Mid-Century Modern home works best when the design stays simple, the finish complements what's already there, and every opening gets measured and evaluated on its own terms. Most installation problems come from skipped prep, inaccurate dimensions, mismatched hardware, or ignoring an irregular frame or floor condition.
If you want custom sizing, coordinated finishes, complete installation-ready kits, or professional fitting across several rooms, European Style Doors offers European-inspired interior door designs with nationwide delivery and installation services. Request a project consultation to go over your specific openings and finish goals.
Frequently Asked Questions
How much does it cost to replace interior doors in your house?
Total cost depends on the number of doors, slab versus pre-hung selection, material, hardware, and whether frame repairs are needed. HomeAdvisor's 2025 data puts the average interior door project at around $797, with installed slab replacements commonly running $300–$500 including labor.
Can I replace my interior doors without removing the frame?
Yes, a slab replacement can preserve a sound existing frame. The new door needs to be accurately matched or machined to that frame's dimensions, hinges, and hardware locations. If the jamb is damaged or badly out of square, a full-frame replacement is usually the better path.
What are some ideas for mid-century modern interior doors?
Flush wood-veneer doors, simple solid-core slabs, and restrained vertical paneling all suit the style well. Pocket or sliding doors work for space-constrained areas, and low-profile hardware in a consistent finish ties the look together across rooms.
Will new hinges and hardware fit my existing door prep?
Not always. Hinge size, backset, and bore diameter vary by manufacturer and door thickness. Check these specs against your existing cutouts before ordering, or choose a complete pre-finished kit that already matches hinges and hardware to the slab.