
Introduction
A clean wall says a lot about a room, but every house needs access panels, closets, and utility spaces somewhere. Many homeowners and designers struggle to reconcile that need with a seamless design vision: a visible door, with its casing and hinges, can break up an otherwise uninterrupted wall.
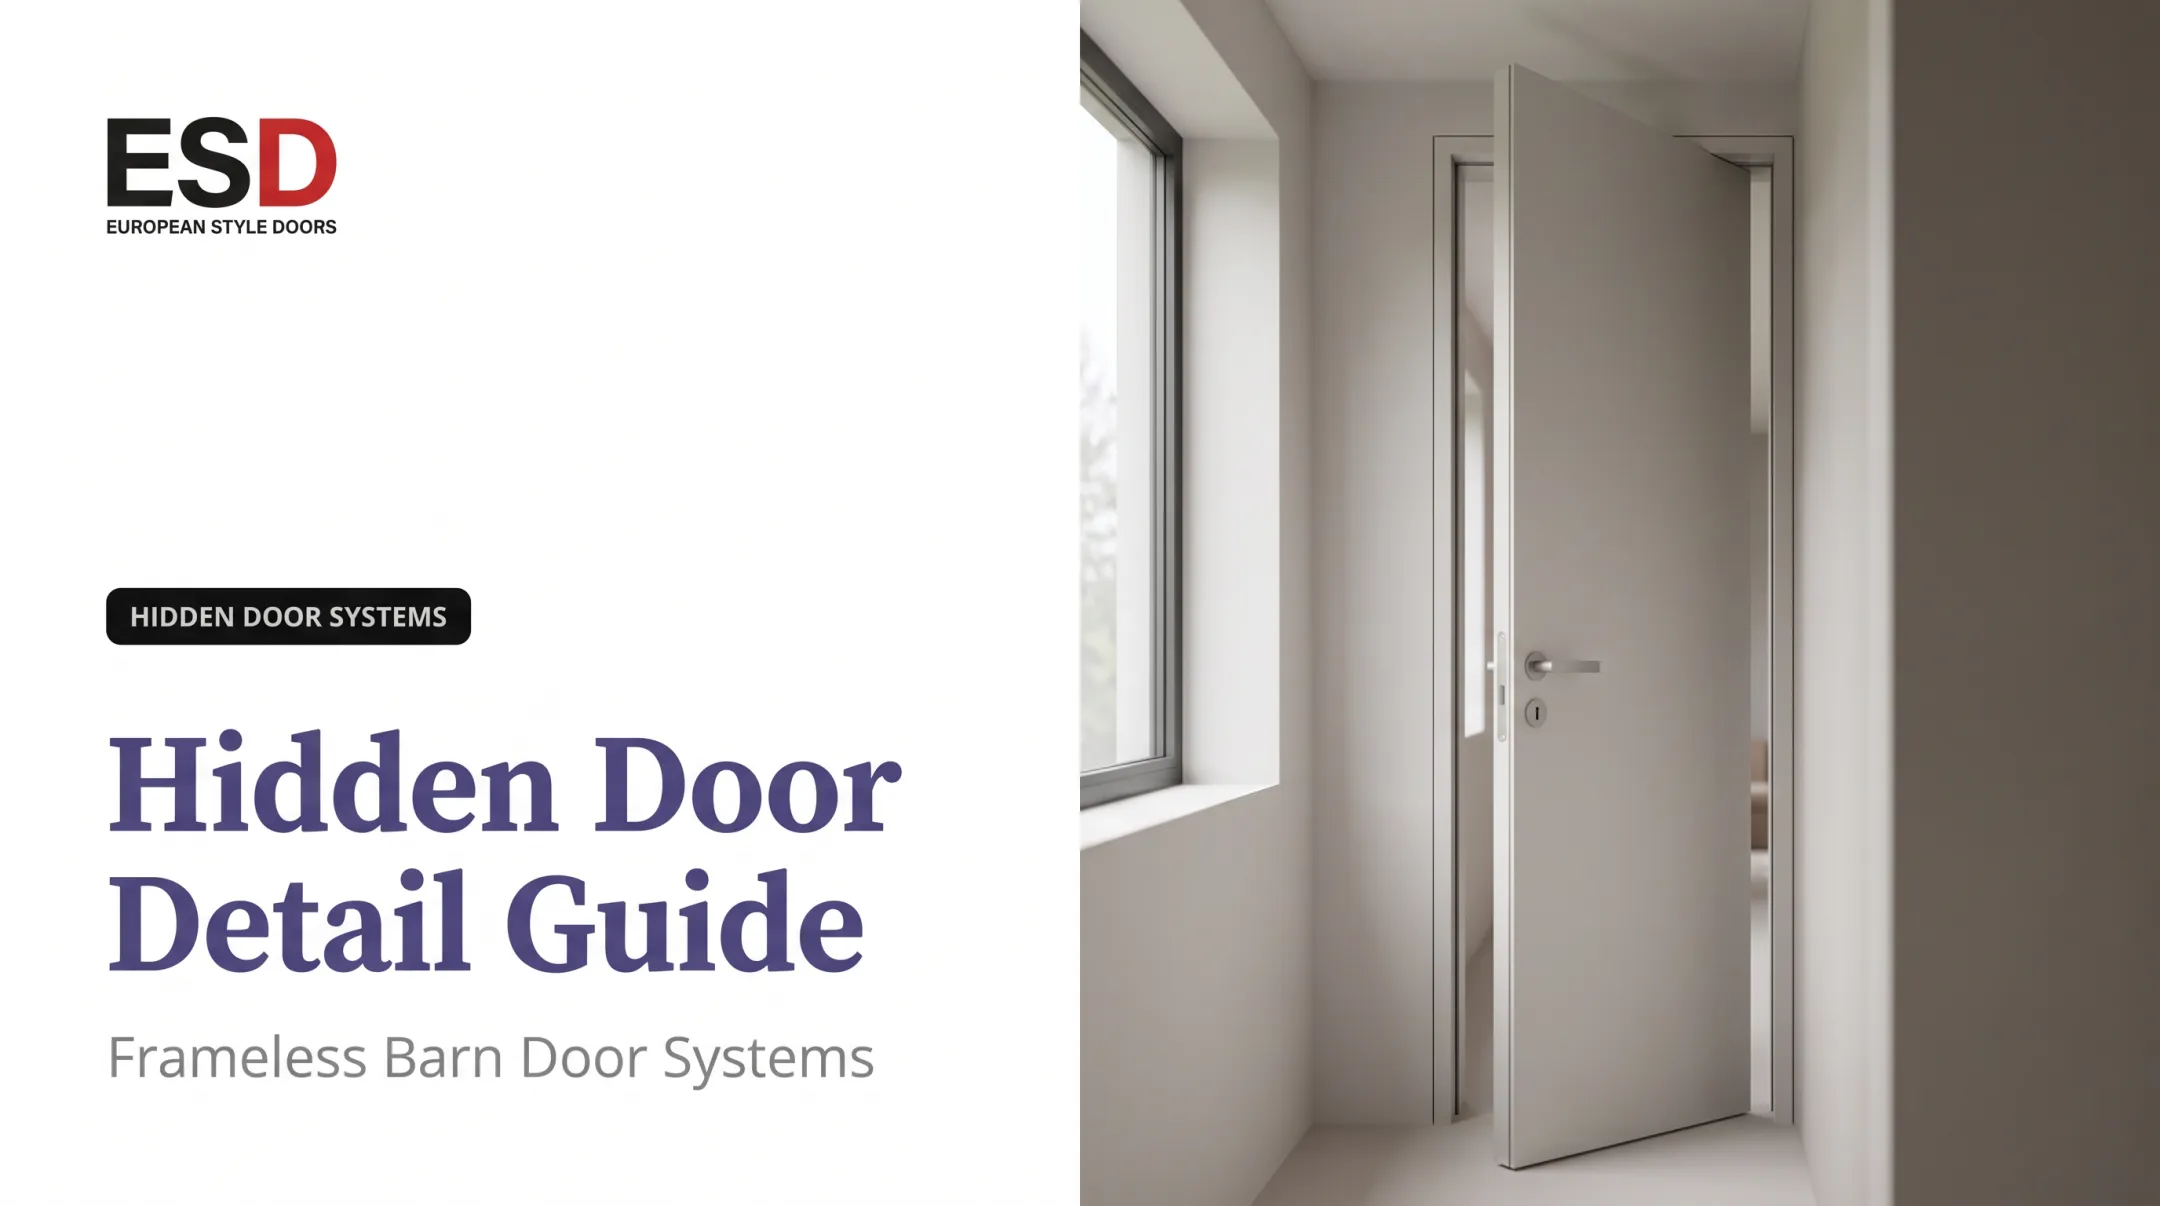
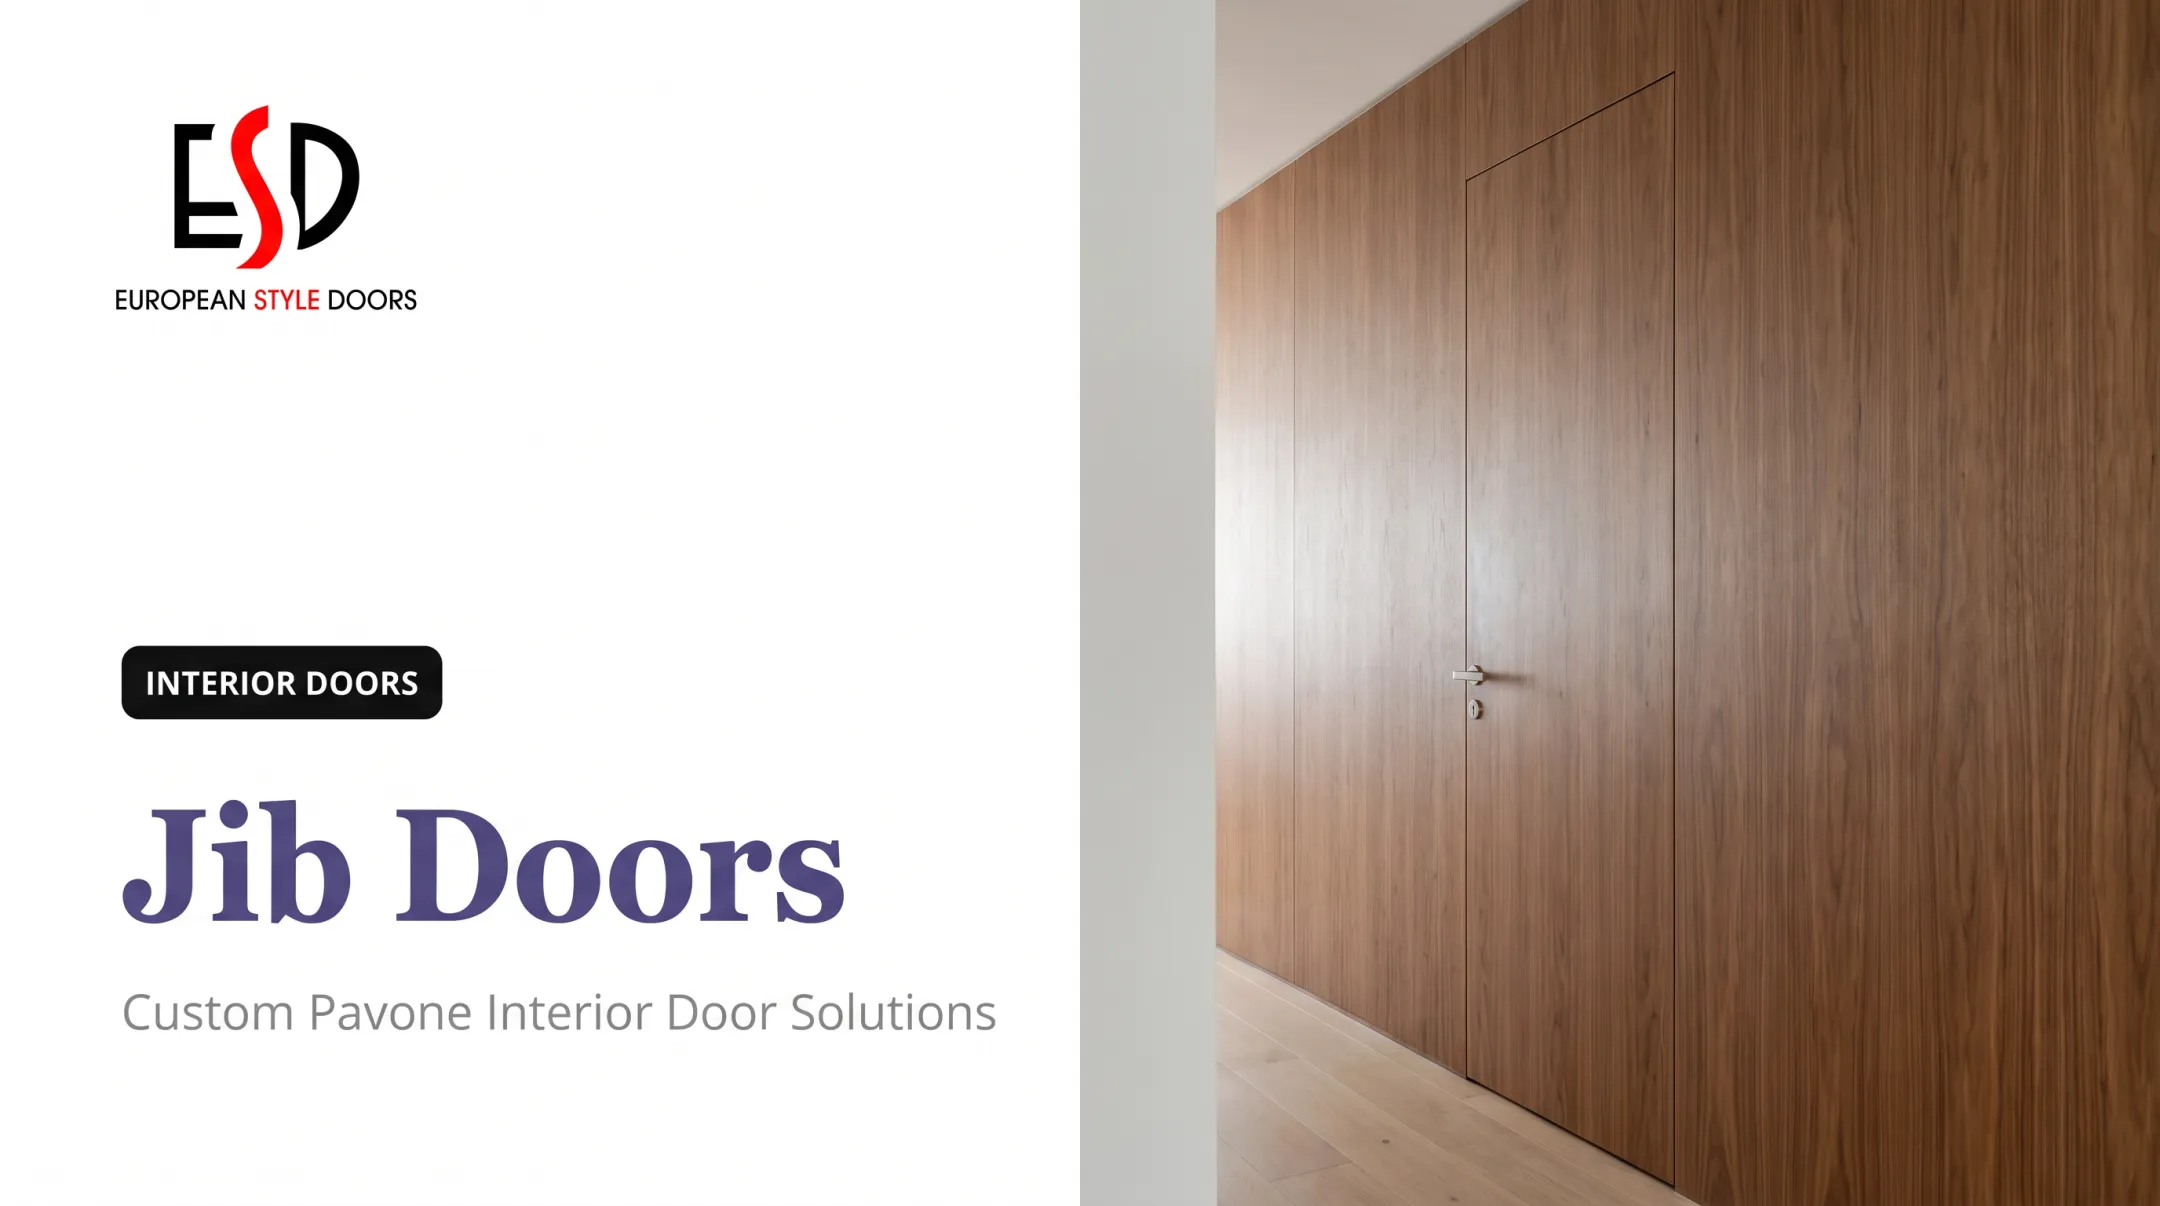
Hidden drywall doors solve this by blending the door into the surrounding surface. The leaf is finished flush with the wall, using matching paint, wallpaper, or paneling, so the opening nearly disappears.
That said, "hidden" refers to appearance, not performance. A concealed door isn't automatically fire-rated or secure just because you can't see it. This guide covers how these doors work, how to plan and install one, and where the concept makes sense, and where it doesn't.
Key Takeaways
- Hidden drywall doors rely on precise framing, tight reveals, and continuous wall finishing to disappear visually
- Resolve door weight, wall depth, swing direction, and finish material before drywall goes up
- A seamless look requires reinforced joint treatment, careful sanding, and exact paint matching around the moving leaf
- Full-size doors, heavy cladding, or utility access almost always call for professional measurement and installation
What Is a Hidden Drywall Door and How Does It Work?
"Hidden drywall door," "flush door," "trimless door," "jib door," and "secret door" get used interchangeably, but they aren't identical. A flush door technically just describes a smooth, unpaneled leaf. Merriam-Webster's definition covers the slab face, not whether the installed door sits flush with the wall.
A jib door, historically used to hide servants' quarters entrances, skips the usual casing that would otherwise disguise fit errors. "Secret door" has no distinct construction standard behind it at all: it's a marketing term layered over one of the other configurations.
Core Components of the Assembly
Regardless of terminology, the assembly generally includes:
- A structural opening sized to the manufacturer's rough-opening tolerance
- A jamb or concealed frame, sometimes trimless
- The door slab itself, finished to match the wall
- Concealed hinges or a pivot system
- A latch or push-to-open mechanism
- Drywall-facing treatment that continues across the door and adjacent wall
- Baseboard or trim that runs through the opening without an obvious break
Flush Door vs. Conventional Pre-Hung Door
A standard pre-hung door announces itself: visible casing, exposed hinge barrels, and a defined reveal line separate it from the wall. A hidden drywall door removes most of those cues. Installation sequence differs too : casing and trim typically go on after drywall and paint, not before, which changes how contractors schedule the job.
The finish you choose (drywall and paint, wallpaper, wood veneer, or paneling) directly affects the slab's weight and the hardware needed to support it. A veneer-clad door weighs more than a painted hollow-core slab, which means heavier-duty hinges.
The goal is usually visual continuity, not total invisibility. A controlled shadow gap often looks and performs better long-term than an ultra-tight joint that rubs, binds, or cracks the drywall finish around it.
Planning and Designing a Hidden Drywall Door
Good results start well before anyone picks up a drywall knife. Location matters first: consider room layout, what's being concealed, privacy needs, and whether the door's swing will collide with furniture, light switches, or fixtures.
Measure at multiple points, not just once. Opening height and width can vary slightly across a rough frame, and so can wall thickness. Before design is finalized, confirm:
- Opening height and width at top, middle, and bottom
- Wall thickness and jamb depth required by the chosen door system
- Floor level and ceiling height at the opening
- Clearance on both sides for the door's full swing
- Depth of the space behind the door (critical for closets or narrow utility rooms)
Swing Direction and Clearance
Swing direction needs to be locked in before framing starts, not decided on install day. Inward versus outward operation changes hinge-side clearance, where the door stop sits, and how baseboard transitions across the threshold. If the concealed space holds equipment that needs servicing, outward swing may make more sense than inward.
Weight and Finish Planning
Door weight drives hardware selection, so this has to be resolved early:
- Slab construction (solid-core, engineered, or hollow)
- Number of drywall or paneling layers applied to the face
- Added weight from mirrors or heavy cladding
- Hinge load capacity versus actual finished door weight
For example, TECTUS rates its TE 540 3D concealed hinge for a maximum load of 265 lb on a two-hinge installation, with a minimum leaf thickness of 1-9/16 in. SOSS does not publish a single per-hinge weight rating; it sizes hinges by door width and weight using its own chart. Check the specific hinge manufacturer's current documentation rather than assuming one number applies across brands.
Coordinating With the Builder Before Drywall Goes Up
Once design decisions are made, coordinate with whoever is closing the wall:
- Confirm blocking is in place for hinge and latch hardware
- Flag reinforced jamb areas before drywall covers them
- Resolve any electrical or plumbing conflicts in the wall cavity
- Verify rough opening tolerances against the hardware template
- Leave access for fasteners and latch components during drywall close-up
Installing the Door Assembly: Frame, Hinges, and Latch
Installation follows a set order: verify the framed opening, prepare the jamb, dry-fit the slab, mount the hinges, check swing clearance, adjust the door plane, and only then finish the surrounding drywall.

Skipping the dry fit is the most common mistake. Once drywall, paneling, or baseboard goes on, correcting a misaligned hinge mortise means tearing back out finished work.
Choosing Concealed Hardware
Concealed and invisible hinges are the usual choice for this style, but they aren't interchangeable:
- SOSS invisible hinges: fully hidden when closed; one model (#216) is built for a 1-3/8 inch door thickness and 180-degree opening
- TECTUS concealed hinges: handle heavier loads (up to about 265 lb on the TE 540 3D), suited to solid or heavily clad doors
- Pivot systems (such as FritsJurgens): one manufacturer lists pivot doors ranging from about 45 lb to 1,100 lb, in single- or double-acting configurations
- Standard butt hinges: simplest option, but visible, which defeats the concealed look
Hinge mortises have to follow the hardware manufacturer's template exactly. A dry fit before drywall or trim goes on catches alignment problems while they're still cheap to fix.
Latch Options
| Latch type | Best for | Trade-off |
|---|---|---|
| Magnetic push-to-open | Light interior doors | Low holding force; easy daily use |
| Heavy-duty magnetic push latch | Larger or heavier slabs | Needs a firmer push to release |
| Mechanical concealed latch | Doors needing a positive catch | More moving parts to adjust |
| Low-voltage electric release | Remote or automated access | Depends on power; needs a backup plan |
Troubleshooting Common Problems
If the door rubs, sags, or won't sit flush, check these first:
- Hinge-side sag from undersized hardware for the door's actual weight
- A rubbing edge where the reveal was cut too tight
- Trim or wall cladding installed before the final dry-fit adjustment
- Excessive opening force, which often points to hinge binding, not the latch
Finishing a Hidden Drywall Door So It Blends Into the Wall
This is where a hidden door either disappears or gives itself away. The drywall around a moving slab behaves differently than a fixed wall section, so it needs different treatment.
Door frames are effectively control joints. National Gypsum's guidance notes that full-height door frames function like control joints, and that gypsum board joints generally shouldn't land within 12 inches of an opening's corners unless a control joint is placed there. Ignore that, and you're likely to see cracking along the moving edge within a year.
Matching the Surrounding Wall
Alignment goes beyond the seam itself:
- Paint sheen and color must match exactly: a slight sheen mismatch catches light differently and reveals the outline
- Wallpaper pattern needs to continue across the door without an obvious repeat break
- Wood grain or panel spacing should read as continuous, not patched
- Baseboard and trim lines must carry through the opening cleanly
The door's edges, jamb, and interior face deserve the same finishing attention as the visible wall, especially anywhere raking light could expose the gap.
The Reveal Doesn't Need to Disappear Completely
A deliberate, consistent reveal often performs better than a joint finished so tight it binds. Before calling the job done, cycle the door open and closed repeatedly and check for:
- Paint buildup along the edge
- Latch alignment under real use, not just the first test
- Drywall movement at the hinge side
- Interference from flooring or newly installed trim
When comparing door suppliers, watch the install sequence. Some crews set casing right after framing, before drywall goes up, so painters work around trim already in place.
European Style Doors installs casing and frames only after drywall mounting and final painting. Its doors arrive with matching casing, jamb, and extension pieces included rather than sold separately. That sequencing difference matters more on a concealed door, where paint and trim lines have to line up precisely.

Best Applications and Important Limitations
Hidden drywall doors work well where a clean sightline adds real value:
- Concealed closets and pantries
- Bathrooms and private studies
- Home offices and media rooms
- Storage and utility areas
Concealment does not suspend building code requirements. A few limitations deserve attention before you commit to the concept:
- Utility access: Doors over electrical panels, plumbing shutoffs, or HVAC equipment must stay readily accessible. NFPA guidance on NEC 110.26(A) requires 30 inches of clear width and 36 inches of depth around equipment worked on while energized.
- Egress and accessibility: Required exits need minimum clear-opening dimensions. The 2010 ADA Standards cap interior door opening force at 5 pounds and require a 32-inch minimum clear width.
- Fire-rated assemblies: If a wall or door is fire-rated, modifications fall under NFPA 80, and listed hardware generally can't be altered without compromising the rating.
- Child safety and frequent access: A door that's hard to find in an emergency, or requires effort to open, isn't ideal for rooms needing fast or frequent access.
When any of these apply, check with the relevant building authority or a qualified contractor before finalizing the design.
DIY Hidden Drywall Doors vs. Professional Installation
A small, lightweight access panel, say, behind a piece of furniture, is reasonable for an experienced DIYer with good measuring habits and patience for drywall finishing. A full-size door with heavy cladding, concealed hinge mortising, or any utility access is a different project entirely.
Where DIY projects typically run into trouble:
- Measurement accuracy across multiple points of an irregular opening
- Mortising hinges to an exact hardware template
- Getting drywall joints to disappear instead of telegraphing through paint
- Catching alignment problems before the wall is closed up, not after
For larger or finish-critical projects, a finish carpenter, door specialist, or contractor familiar with concealed hardware is worth the cost. This is also where buying a pre-engineered, installation-ready door package can simplify the project considerably.

European Style Doors, for example, supplies custom-sized interior doors (including frameless options) with the casing, jamb, extension pieces, and hardware included, plus free measurement and optional installation. Its frameless door kits come with an invisible metal frame, hidden hinges, and sealant already specified, which removes a lot of the hardware-matching guesswork that trips up DIY attempts.
For homeowners, designers, and contractors coordinating dimensions and finishes early in a build, that kind of package can shorten the back-and-forth considerably.
Frequently Asked Questions
Should a door jamb be flush with drywall?
A flush or trimless jamb can achieve the seamless look most people want, but the right position depends on your specific door system, wall construction, and the manufacturer's reveal and installation requirements.
What is a hidden drywall door?
It's an interior door built to sit in the same visual plane as the surrounding wall, finished with paint, wallpaper, or another wall treatment so it blends in rather than standing out.
Do hidden drywall doors need concealed hinges?
Concealed hinges are common because they support the clean look, but the right hardware depends on the door's size, weight, swing direction, and the manufacturer's load ratings.
How do you hide the seam around a drywall door?
Accurate alignment, a deliberate reveal, reinforced drywall finishing, and matched paint or wallcovering all work together to minimize the seam. Trim and baseboard continuity across the opening also matters.
Can I install a hidden drywall door myself?
Small, lightweight access panels are often manageable for an experienced DIYer. Full-size doors with concealed hinge mortising, structural framing changes, or utility access usually justify professional installation.
Where are hidden drywall doors commonly used?
Closets, pantries, home offices, storage rooms, bathrooms, and media rooms are typical applications. Required access and safety considerations should guide whether it's the right fit for a given space.